
 I often wonder what I should do with the bits of yarn I have
left over after a project. Some people
make fanciful and colorful shawls or scarves out of the surplus but that sounds
like another project to me and we all know about my attention span when it comes to
large knitting projects. Although, I am
doing great in sock class and will post “progress” photos in a week or so.
I often wonder what I should do with the bits of yarn I have
left over after a project. Some people
make fanciful and colorful shawls or scarves out of the surplus but that sounds
like another project to me and we all know about my attention span when it comes to
large knitting projects. Although, I am
doing great in sock class and will post “progress” photos in a week or so.
Do you remember making potholders on a metal weaving loom when you
were little….I do. I used to sit for
hours thinking up ways to weave unusual patterns but there were never enough loops
of the desired color. Heaven forbid if you wanted to make a monotone
potholder!
I’m strolling around the Dollar Store one day and I mosey into
the toy section - who knows why - and what should I see but a Weaving Loom, complete with 120
colorful loops, and a weaving hook and instructions (I didn't need those). It
occurs to me that I could weave a potholder using the bits of yarn I have. So the weaving loom comes home with me.
I only had $1 bills in my wallet so it's a good thing I was in the Dollar Store.
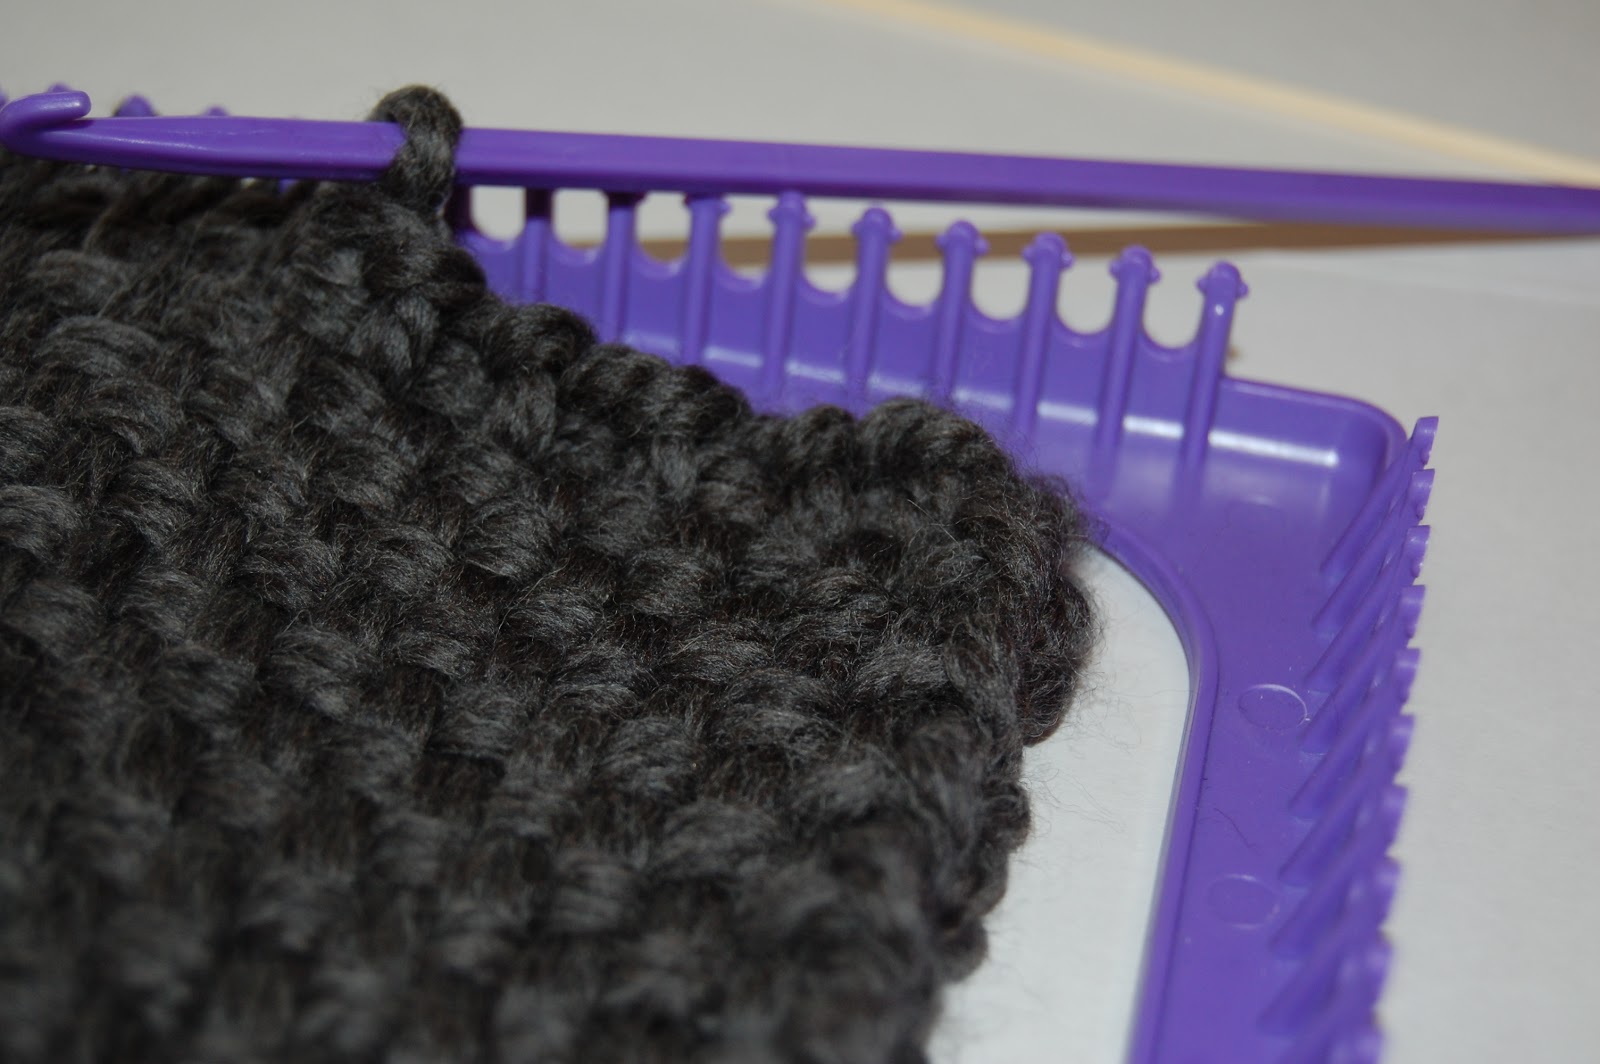
Creating a potholder on a weaving loom using yarn is
easy-peasy. You will want to use a heavier
weight yarn or two strands of a lighter weight yarn. Here’s what you do:


.JPG)

... and you got yourself a potholder!
This is a great craft to do with kids! I only have Stella the Boston Terrier at home and since she doesn't have opposable thumbs, she wasn't interested in this project.
1 comment:
Hello - thanks for posting these instructions. I need a little clarification: when you tie the yarn in the bottom right corner and then around the pegs, that is all one piece of yarn? Also, when you start weaving across (up and under) is that still the same piece of yarn that's tied to the bottom right corner? If it's not, is each strand across a separate piece of yarn? I'm not sure I'm asking these right, I'm not very crafty, but would like to try this. Thanks.
Post a Comment